I have found some time to play around with some of the features coming with ASP.NET Core 3 and I needed a place to host some of the applications I’m playing around with. Azure App Services has always been a great place for this type of thing, but as you will see in the details below it doesn’t support ASP.NET Core 3 by default currently.
This post is going to walk through creating a new ASP.NET Core 3 React application and publishing it to a new App Service with the default setting and then show you what to change to get the application to run.
Sample Application
I used the following .NET CLI command to create a new ASP.NET Core application using React for its front end.
dotnet new react
After the creation process is complete open the project in Visual Studio. I highly recommend using the Visual Studio 2019 preview release when working with any .NET Core 3 applications.
Publish to App Service
In Visual Studio’s Solution Explorer right click on the project file and select Publish.

Select App Service for the publish target. Here we are creating a new app service. Next, click Publish.

The next dialog if the information about the new App Service that will be created. I took the defaults for the most part. I did create a new resource group for this application to make the resources easier to clean up in the future. I also changed the hosting plan to the free tier. Click Create to continue.

The Error and the Warning
As part of the publishing process, a browser will be opened to the address of the application. When this happens you will see an error about ANCM In-Process Handler Load Failure (if you are using IIS In-Process Hosting).

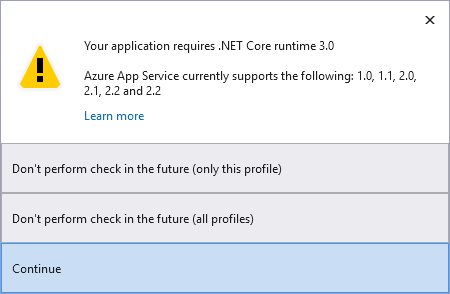
If you look back at Visual Studio you will see the following warning that your application requires the .NET Core runtime 3.0 and App Service only supports up to 2.2.
The Fix
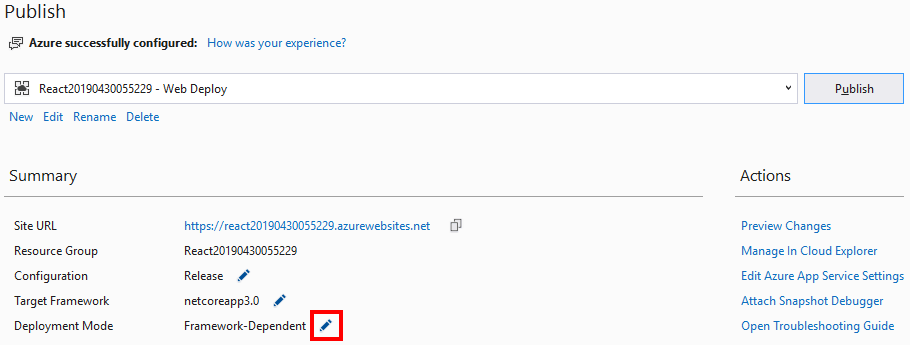
After dismissing the dialog above you will see a summary of the publish profile we created above. Click the Pincel next to the Framework-Dependent value for Deployment Mode.
In the dialog that pops up set the Deployment Mode to Self-Contained and select an appropriate Target Runtime for your App Service. In the case of this sample which is deployed to a Windows App Service, we are using win-x86.

Back on the publish profile summary screen click the Publish button to redeploy the application to App Service with the new settings. When the process finishes this time you should see a browser load with your application running properly.
Wrapping Up
This is a great example of the power of being able to do self-contained deployments. If this option didn’t exist then we would have no option for running .NET Core 3 applications on App Service.
Also published on Medium.
Helps. Thanks .
According to MSDN there are 3 ways to deploy, but in my VS2019 I see only two: self-contained and framework dependent.
Though self-contained works.
People, don’t forget to change x86/x64 in your application setting in azure – it should match your setting as on the picture .. I forgot and got error.